
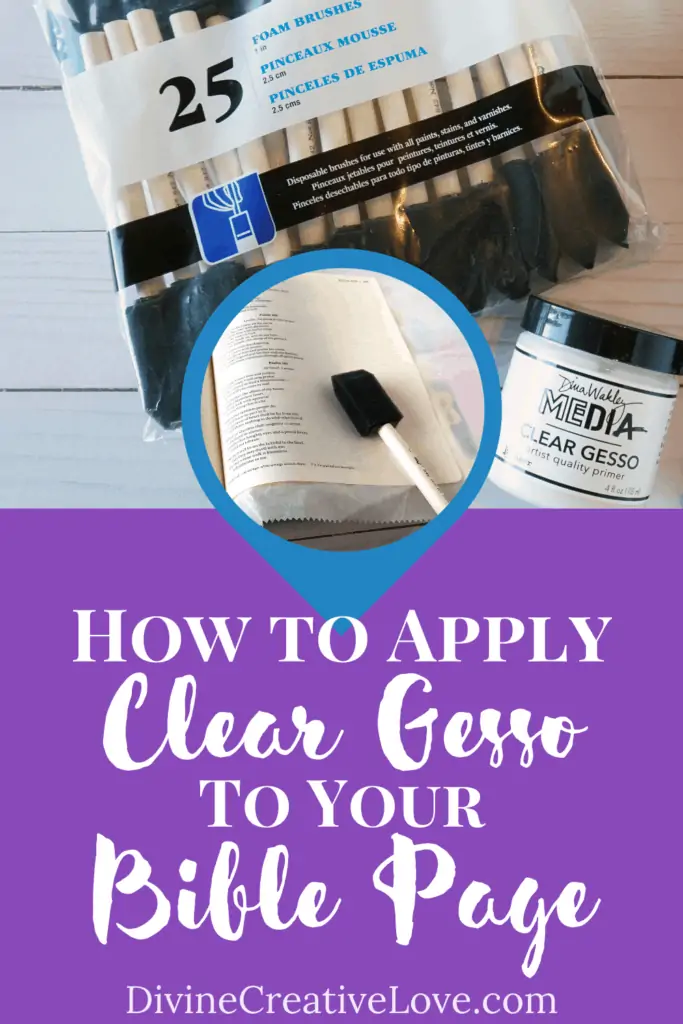
If you want to use any kind of wet media (like paint or ink) in your journaling Bible, it’s a very good idea to prep your page with clear gesso first, to strengthen the page and protect it from tearing or bleedthrough. In this video post, I’ll show you how to apply gesso for Bible journaling! I promise, it’s actually quite easy.
{ This post and the photos within it contain affiliate links. If you make a purchase after clicking an affiliate link, my ministry gets a small commission, with no extra cost to you. See my full disclosures HERE. }
I’ve been wanting to do this for a long time, y’all.
When I started Bible journaling in 2016, I never would’ve had to courage to paint in my Bible if I hadn’t seen it demonstrated in a video tutorial. Because someone showed me how to apply gesso to protect the Bible page, and then how to watercolor paint on the page, I was confident enough to try it.
Don’t think I wasn’t scared though! Those first few times were definitely nerve-wracking. But then before long, I was applying gesso with ease, and using all kinds of paint, inks, and gelatos in my Bible journaling.
And now, I get to pay it forward! My craft desk (where I do all my Bible journaling) is newly re-organized, and I have plenty of space to film Bible journaling videos.
So, for this first video (of what I hope will be many more video tutorials going forward), of course I wanted to show you how to apply clear gesso for Bible journaling. Because, if you have a desire to use paint or ink in your Bible (as I obviously do), gesso is a highly useful (if not ESSENTIAL) way to prepare and strengthen your Bible page to be painted on.
How do you use gesso for Bible journaling?
Applying gesso to your Bible page is really a lot easier than you think. You might feel a little apprehensive about it at first, but I promise after you’ve done it once or twice, you’ll be amazed at how easy it is. Not to mention, how it makes it possible to paint on your Bible page with watercolors, inks, and gelatos, and more!
Check out the video tutorial below, to see what I mean!
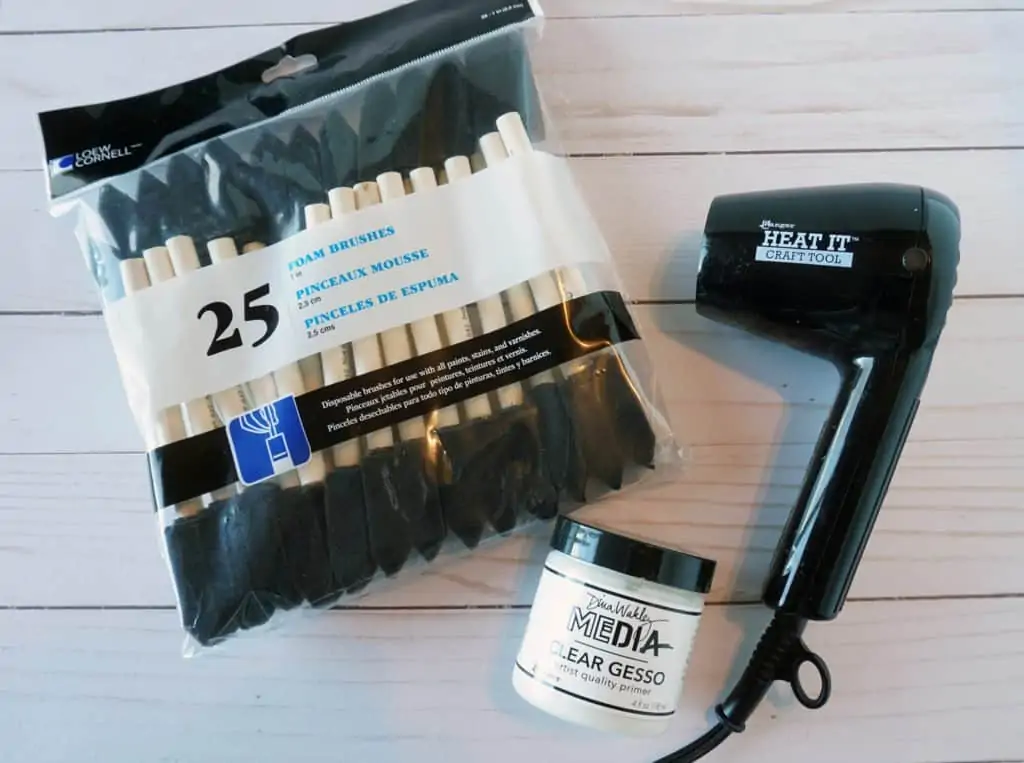
SUPPLIES:
- Dina Wakley clear gesso (I prefer this brand in particular, for its smooth result (less wrinkling/roughness on the page than other brands)) (NOTE: Make sure to get clear gesso as opposed to white gesso, so it won’t cover up the Bible text)
- 1″ foam brushes (or paintbrush of your choice)
- Deli paper (or wax paper, or reusable plastic craft sheet, just something to protect the Bible pages behind and adjacent to the one page you’re working on)
- 3M removable scrapbooking tape (to secure the deli paper)
- Ranger Heat It craft drying tool (super handy if you’d rather not wait ~1 hour between coats of gesso or paint)
STEPS TO USE GESSO FOR BIBLE JOURNALING:
- Use removable scrapbooking tape to secure the deli/wax/protective paper to the Bible pages that are behind and adjacent to the page you’ll be applying clear gesso to.
- Take your brush, and apply the gesso in gentle strokes. If you prefer, you can turn your Bible sideways like I do, so your brush strokes start towards the center binding and go out to the edge of the page. Aim for a very thin coat of gesso—after you’ve covered the whole page, you can keep smoothing and removing excess gesso until you’ve achieved your desired result.
- OPTIONAL: Use a heat tool to dry the page quickly; lift the page with your hand while you’re drying it, so it won’t stick to the deli paper. ALTERNATIVELY, you could place a piece of paper underneath the Bible page, and leave it to dry for an hour or so.
- Once it’s dry, apply a second coat of gesso. This ensures extra protection for the page, and if you happened to miss any spots with the first coat, this second coat will likely take care of that.
- When both coats are dry, you’re ready to add paint, ink, stamps, or whatever you want. I recommend leaving the deli paper in place throughout the whole process, so you don’t accidentally get paint on the other pages.
- After you’re completely finished with your Bible page, and everything is dry (check it by pressing a sheet of paper over it, just to be sure), you can remove the deli sheets. If any of the tape is left on the Bible page, just use your fingernail to lift up the edge and peel/roll it off.
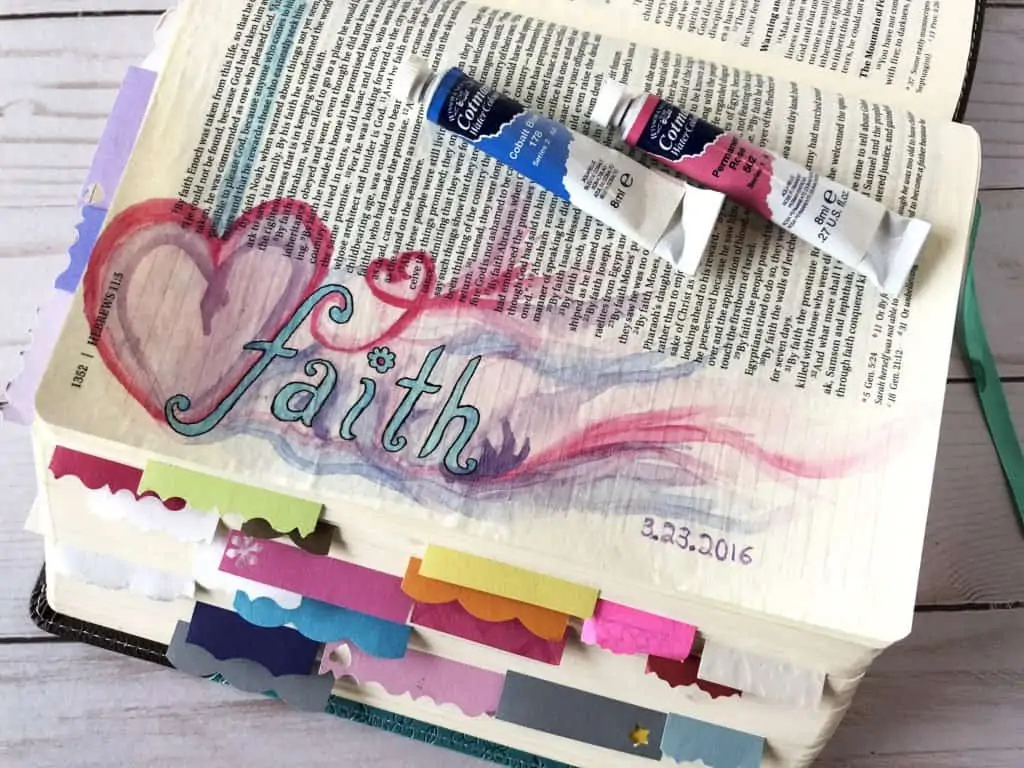
I promise, even if you’ve never painted a thing in your life before, you can absolutely do this! I know it’s not for everybody…some Bible journalers prefer to stick with dry media like colored pencils or washi tape, and that’s totally okay. But I really enjoy using gesso for Bible journaling, so I can add cool things like metallic gelatos, watercolors, and ink sprays to my Bible pages.
For me, art adds an extra element of fun to Bible study, but more importantly…it gives me a way to process and record what God is teaching me through His Word. And, it makes it easy for me to remember it, and easily refer back to it later. The Lord knows, I certainly need to keep reinforcing and reminding myself of everything I learn! And I hope you find that Bible journaling does that for you too.

Hi! Thank you so much for visiting Divine Creative Love. I’m a Jesus-lovin’ girl, artist, designer, and general creative-at-heart. And, I have narcolepsy. I blog about faith in God, overcoming challenges, and creative topics such as Bible journaling. If you’re new here, be sure and subscribe to my list so you won’t miss anything!
Good Fantastic Friday,
I just HAPPENED to come across your delightful invitation on Facebook. I love to journal in the arts and learned so much watching a couple of your videos❣️
I was wondering if you have tried using those little reusable sticky dots used for photos. They are easy to manipulate without smudges. I just wonder if they are too “bumpy” so the paper would not stay flat.
I will be joining with you,
Marian A. H.
Hi Marian! The only things I’ve used are double-sided tape, and sticky squares, both of which are completely flat. I think any sticky items that are thicker (even just 1mm thick) probably would not allow the paper to lay flat. But, you never know until you try it!