
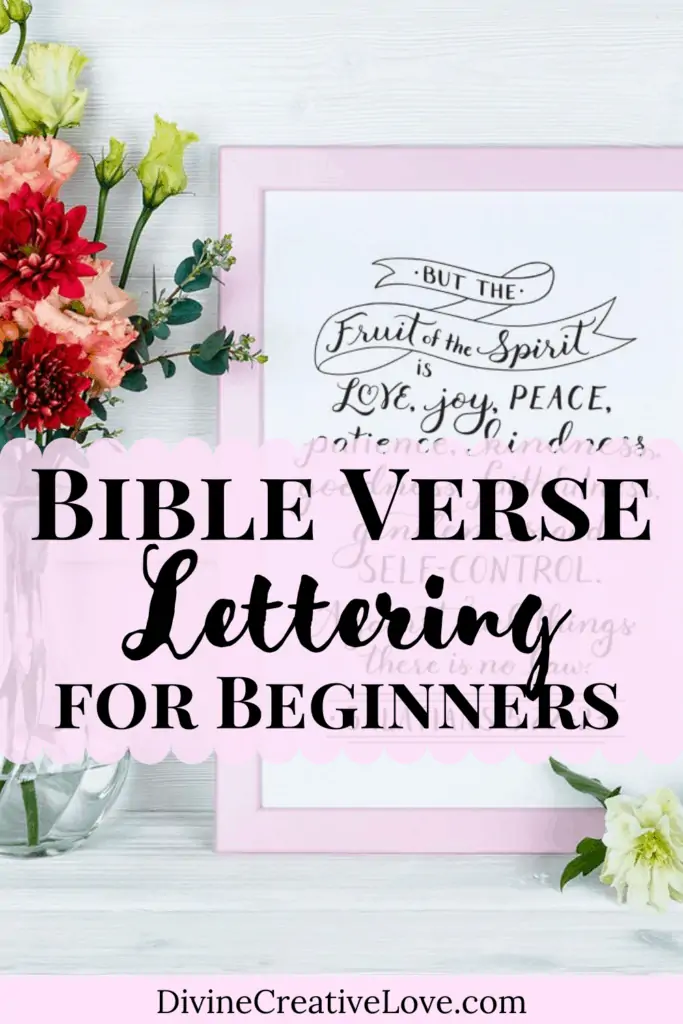
Do you long to learn (or become better at) hand lettering? Wish you could create your very own Bible lettering artworks for Bible journaling, cards, creative sermon notes, and even just for memorizing Scripture? This post will show you how.
{ This post and the photos within it contain affiliate links. If you make a purchase after clicking an affiliate link, my ministry gets a small commission, with no extra cost to you. See my full disclosures HERE. }
Never in a million years did I think I would become good at hand lettering Bible verses, y’all.
In high school, I would watch my friends and classmates with envy. Some were naturally good at drawing (like my friend who could draw anime like he was born for it). Others, I would see doodling cute little letters in their notebooks, and I would think how I wished I could do that. And don’t even get me started about the cheerleaders spread out on the gym floor, drawing fantastic banners for pep rallies and football games.
Fast forward to several years after college, when I bought a set of Tombow Dual Brush Pens, intending to use them for Bible journaling. But then, I started seeing pictures on the internet of people who used the markers to make beautiful brush lettering, and I decided “I want to learn how to do that!!!”
What is the best way to learn hand lettering?
For me, I started the simplest way possible: I searched for free brush calligraphy practice sheets (Dawn Nicole Designs is one of the best sources I know of). Once you decide you want to to learn hand lettering, just start looking for books, worksheets, and other hand lettering ideas for beginners, and dive in. You have to start somewhere, so just do it, and go from there!
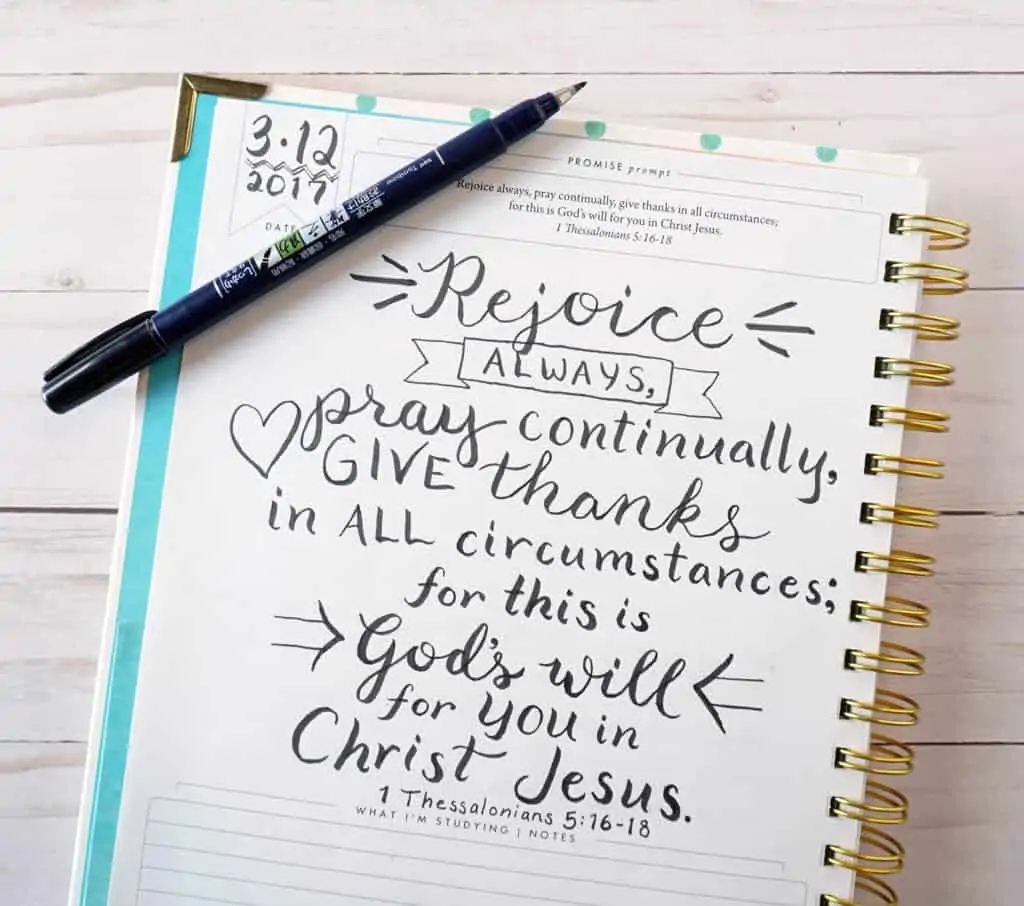
What really grew my hand lettering practice, though, was my discovery of Krystal Whitten’s Lettering Prayer Journal. Here was the answer to two dilemmas: I longed for a deeper prayer practice, and I wanted to get better at lettering. I asked for one for my birthday, and the rest is history!
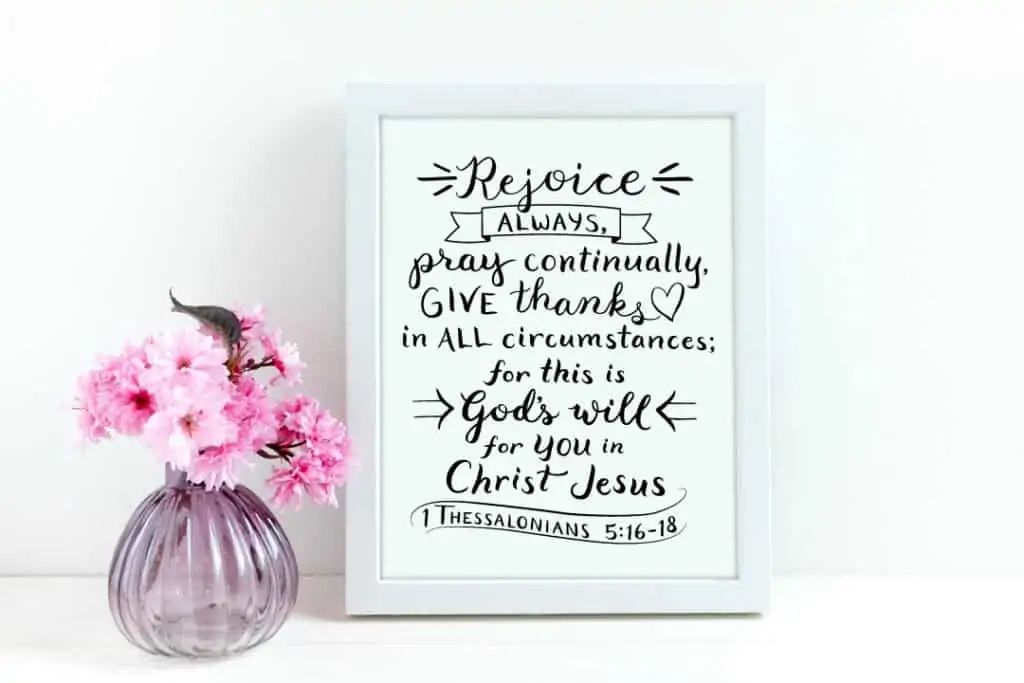
(You can see in the photos below, one of my early script lettering designs in the prayer journal, which eventually became one of my bestselling hand lettered Bible verses—with a few tweaks to the design, of course!)
Then, about a year ago, I discovered that Krystal Whitten had published a new lettering book, called Faith & Lettering. I was intrigued, especially seeing that it had lots of instruction in areas that I wanted to grow in or had never tried before (like doing hand lettered sermon notes).
And it’s this book that I recommend most, for any Christian who is interested in learning hand lettering…

The Best Hand Lettering Book for Christians
Faith & Lettering is an awesome book, for many reasons! Not only is it a great introduction to lettering for beginners, but it still has lots of cool ideas and techniques for advanced letterers like myself. So, wherever you’re at in your lettering practice, chances are you’ll find it useful. Below, I’ve listed three reasons why I think this book is the best way to learn Bible lettering…
1) Focus on Lettering for the Lord
While other hand lettering books might just have you lettering quotes, sayings, or who-knows-what, Faith Lettering does just what the title says: it focuses on faith. It’s all about using lettering as a means to grow in your faith, and to glorify God. Krystal even included a chapter at the end of the book that’s all about dealing with creative insecurities. She really emphasizes that we’re not lettering to get accolades for ourselves, but to grow our knowledge of God’s Word, share hand lettered Scripture verses with others, and give God praise and glory.

2) Covers All the Hand Lettering Basics
It’s also an excellent hand lettering for beginners book, covering all the basics you need to know to get started. Things like hand lettering vs. calligraphy (what’s the difference?), what kind of pens to use for lettering, how to draw the letter shapes, suggestions for practicing, and so much more. (I should mention, there is also a companion book called the Faith & Lettering Journal, which provides much more opportunity for practice).

Even for me, already knowing a lot of the basics, there were still a lot of things that I learned from this book (like the smoothest pencil to use for sketching out the letter shapes, and how to draw cute borders and other decorative elements to adorn my lettering).
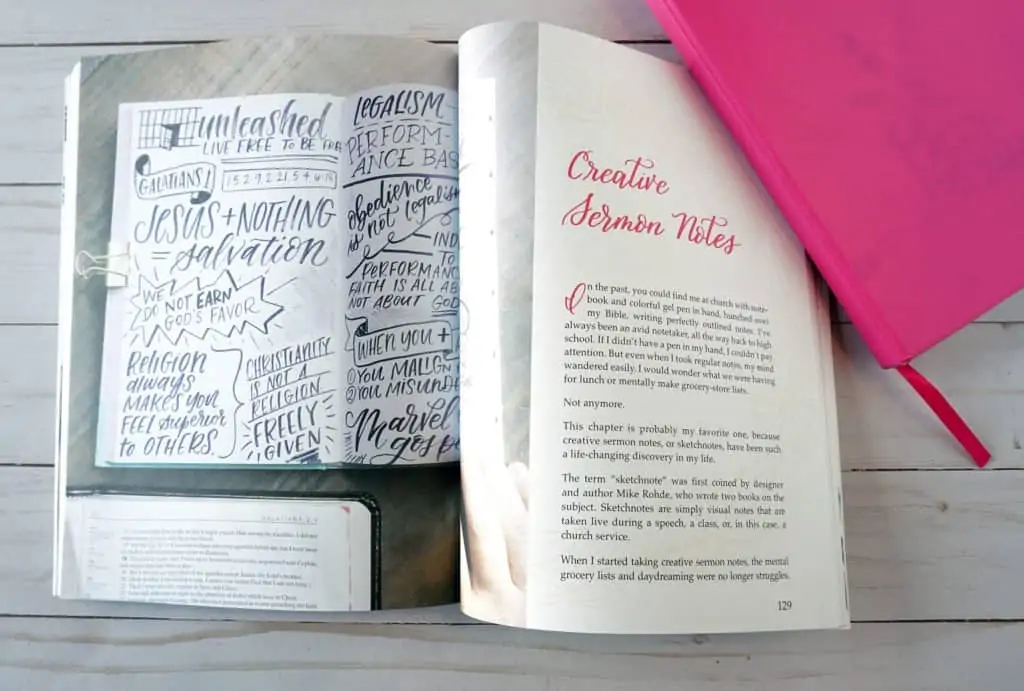
3) PLUS Specific Techniques for Bible Journaling, Sermon Notes, and More
Once you move beyond the basic hand lettering skills, the Faith & Lettering book also includes several chapters on how you can use lettering on different mediums and for different purposes! There are specific chapters on Bible journaling, sermon notes, and also what Krystal refers to as “lifestyle lettering”: adding Bible verse hand lettering on cards, gift tags, chalkboards, and other items.

In fact, one of the biggest reasons I bought Faith & Lettering, was so I could learn to do hand lettered sermon notes. And I admit, it takes guts! I was so nervous at first, because there was a big blank page, and a preacher who’s dropping nuggets of wisdom faster than I can hand letter!
(Krystal does include lots of helpful tips for this dilemma…like, practice by watching a pre-recorded sermon that you can pause if necessary…and also, use a separate notebook to quickly jot down things you want to remember, that you can add to your notes later.)
I still feel like a fish out of water sometimes, trying to take creative sermon notes! I guess you could say that, it challenges my creativity! Usually, I start out doing the hand lettering as the sermon progresses…but then at some point, I fall behind, and then I just scribble notes as furiously as I can in a separate notebook. Once the sermon is over, I go back and add those points to my hand lettered notes.

I just love that I can now actually remember what the message of the sermon was. I always felt so bad, when it got to, like, 3pm on Sunday afternoon, and I had to struggle to remember what the preacher talked about! It’s so nice that now, I can just open my notebook and see everything laid out in my notes. (If you’re curious, I use a Leuchtturm1917 notebook with Pigma Micron pens for my creative sermon notes…the paper is nice and thick, and the pens don’t show through at all on the other side!)
Hand lettering is just such an awesome way to grow in your knowledge of God’s Word. I can only begin to list all the ways it’s helped me memorize verses, study Scriptures more deeply, and so much more. Not to mention, it’s enabled me to share God’s Word with others in such a beautiful and unique way!
👉🏼 Grab yourself a copy of Faith & Lettering, and don’t be afraid to get started! Remember, it’s not about being perfect, but just learning and growing in your faith, and as Krystal says it “Lettering for the Lord”.

Hi! Thank you so much for visiting Divine Creative Love. I’m a Jesus-lovin’ girl, artist, designer, and general creative-at-heart. And, I have narcolepsy. I blog about faith in God, overcoming challenges, and creative topics such as Bible journaling. If you’re new here, be sure and subscribe to my list so you won’t miss anything!
Sounds really interesting thanks – I will check out the book you recommend. Would it be better to buy the Faith and Lettering Journal or the original Faith and Lettering book do you think?
I would get either the Faith & Lettering book by itself, or both the book and journal together. The journal is meant to be a companion to the book, to give you more space to practice lettering.