
There are so many ways to Bible journal…where do you even start? Remember, the purpose of Bible art journaling is to enhance your study of Scripture, and grow closer to God. Do what helps bring His Word to life for you! Here, you’ll find 12 creative Bible journaling techniques you can try, for everything from making colorful backgrounds, to highlighting, to creating art in the margins.
{ This post and the photos within it contain affiliate links. If you make a purchase after clicking an affiliate link, my ministry gets a small commission, with no extra cost to you. See my full disclosures HERE. }
For me, nothing has brought God’s Word to life quite like Bible art journaling. Honestly, I think every Christian should be doing some form of journaling, even if it’s simply highlighting your favorite verses. But for folks like myself, who are visually-minded, and perhaps also color-loving (yes, you can probably tell I love color!), it’s the addition of art journaling that really brings each passage that we study to life.
How do you do creative Bible journaling?
But if you’re new to Bible journaling, or perhaps you’re a bit creatively-challenged, you might need some Bible journaling ideas to jump-start your creativity. I get it, I really do! It can be daunting to sit down in front of a blank Bible page, and wonder how in the world to get started, or what to write. Even for someone like me, with literally dozens of potential Bible art journaling supplies at my fingertips, sometimes I’m indecisive as to which to use, and what to do with them.
The key is to start with the Scripture itself. Study your chosen passage, look at it in different translations, pray over it, and ask God what He wants to teach you on this particular day. Think about the history, the symbolism, the particular context of the verse, and so forth. Ask, what would bring this verse to life? Then, pick some supplies, and go from there.
There are times when I think it helps to formulate a plan (for example, I’m going to paint on this color, stamp on a flower or a cross or whatever, and then write down what I’m learning about the verse). But, there’ve also been plenty of times when I’ve just dove in, painting or coloring, and then I decide the rest as I go. Like, hmm, I’m going to add this or that. And then, oh, how perfectly this stamp fits in right here, and it really drives home the point of the verse! So, just do what works for you and for the particular Bible passage your journaling about.
12 Creative Bible Journaling Techniques to Try
If you need some ideas for what supplies to use, or new ways to use supplies you already have, these creative Bible journaling techniques will help get you started. I’ve listed them roughly in order of process, starting with ways to create a colorful background on the Bible page, followed by some unique ways to write on top of the background, most importantly some techniques for emphasizing the Bible verses, and finally, ways to add artwork to the page, and create tabs.
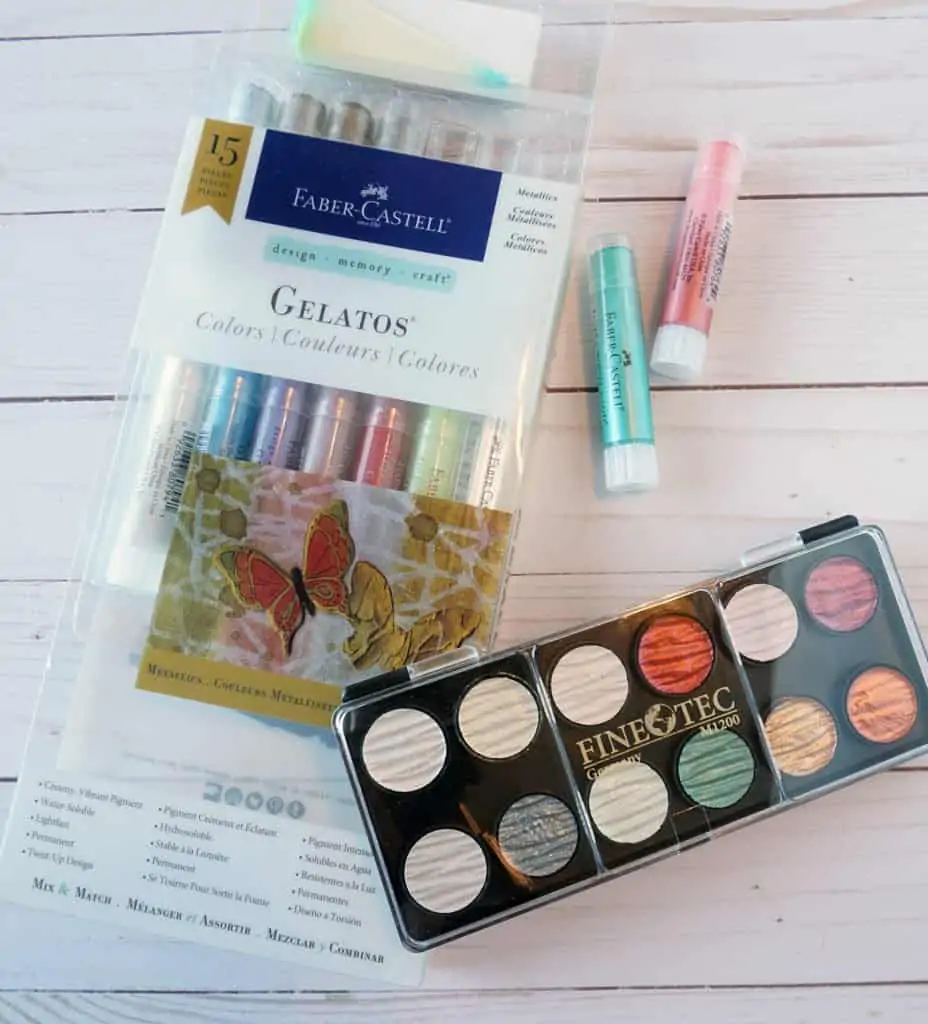
1) Use Faber-Castell Gelatos for an easy translucent background.
If you’ve never tried Gelatos, you’re in for a treat (pun intended)! They’re nifty little lip-balm size tubes of pigment, which you can do lots of different things with. How do you use gelatos in Bible journaling, you say? There are lots of ways, but my favorite is to smear some of the pigment onto a paint palette (or just a Styrofoam plate will do), and then spritz or drip some water over it. Grab a paintbrush, swirl it around, and what you end up with is sort of a watercolor-like substance that’s easy to paint onto your Bible page.
The best part is, it’s very translucent, so you can still easily see the Bible text beneath the ‘paint’. It makes a great overall background, with one color, two or three together, or you can use different Gelato colors on different parts of the page. My favorite gelatos are the metallic ones, which give the page a beautiful-yet-subtle shimmer! But, you can also get them in pastels, brights, iridescents, or translucents (which I haven’t tried, but I assume they’re even more translucent that all the other varieties).

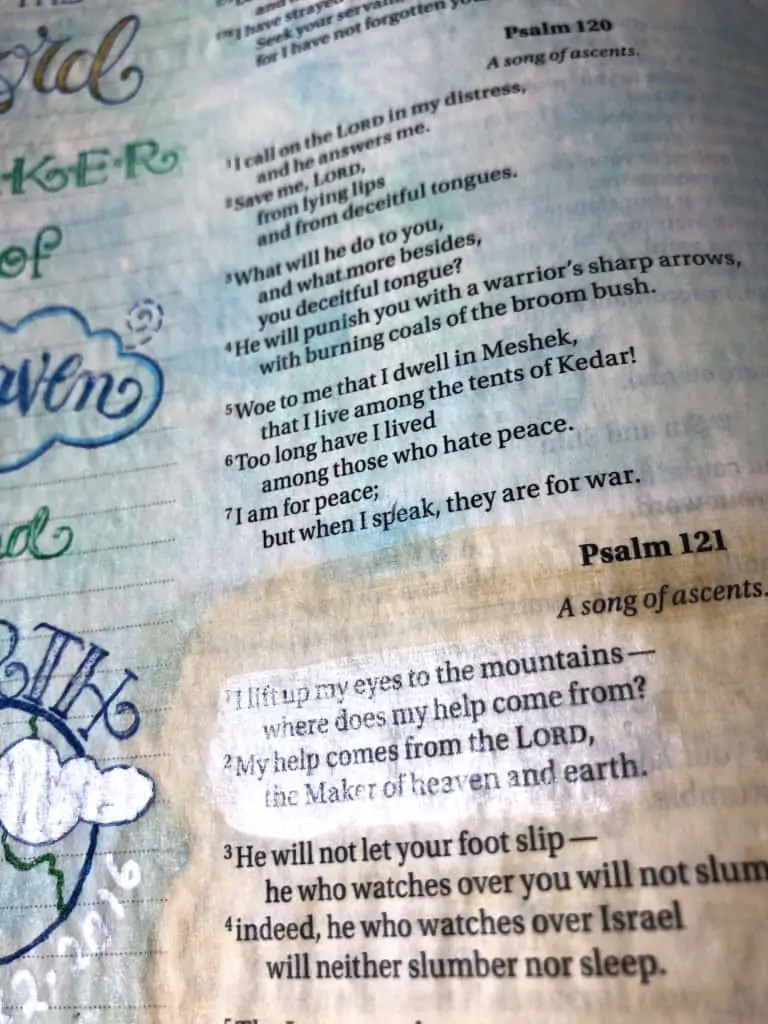
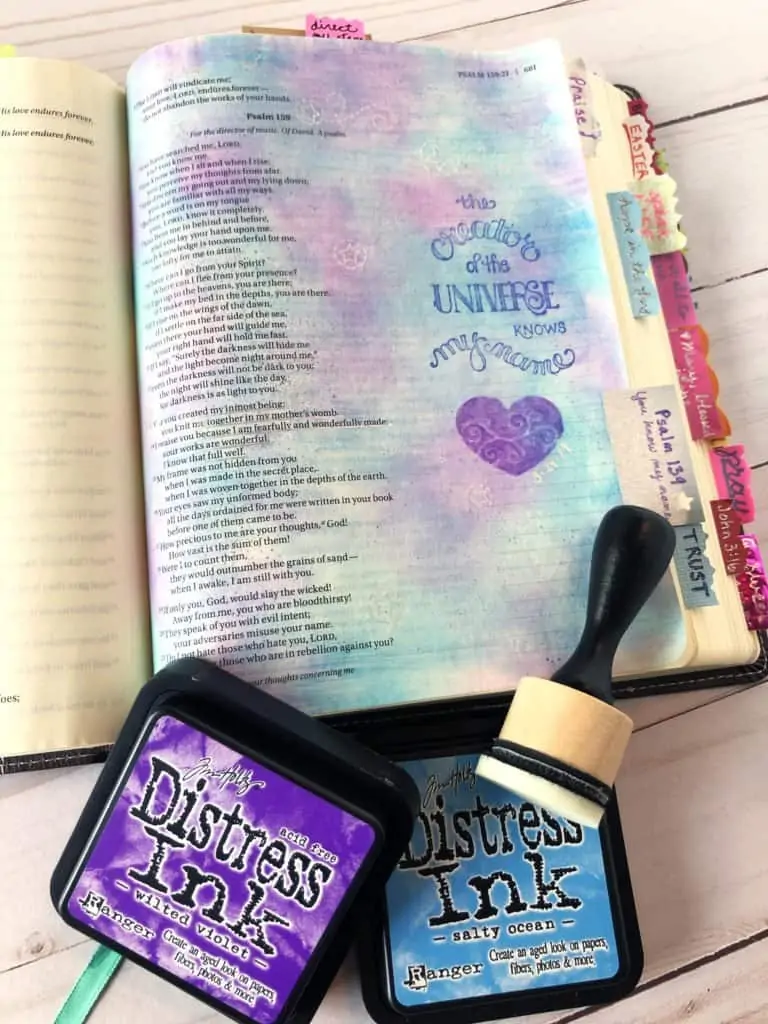
2) Use Distress Inks to create a cool, cloud- or galaxy-like background.
Another great tool for creating a translucent background, is Tim Holtz Distress Ink. Just take a Tim Holtz blending tool, tap-tap-tap on the ink pad to pick up some color, and tap and blend it onto the Bible page as desired. (It’s important to note, that it works best over a Bible page that’s been prepped with clear gesso first. The ink will blend much better, whereas without gesso, the Distress ink will stay right where it lands and won’t blend.)
Distress inks are especially great for creating a cloud or galaxy-like effect, which is a handy Bible journaling technique to have for Scriptures that speak of God’s majesty, the glorious beauty of His creation, and so forth. For clouds, take some blue Distress Ink, smudge it around on the page in various spots. Then, go in with a different shade of blue or gray, and blend around/in-between the places where you put the first blue color. Or, to create a galaxy effect, blend some dark blues, purples, and/or pinks, and keep on adding more layers, blending, adding, and blending some more, until you achieve a darker galaxy effect (this takes a lot more layers of color than clouds, to reach the darker shades needed). Then if you like, you can take a white paint marker or a gold or silver gel pen, and add in stars on top.
3) Achieve a unique effect with a marker spritzer.
Okay, full confession: The marker spritzer is not a tool for the faint of heart, simply because you’re spraying ink (from markers such as Sharpies), which has the potential to obscure the Bible text if you’re not careful. Check out this post for full instructions, but suffice it to say, you can achieve some pretty amazing effects with it. Everything from a very light, sparse spray of ink dots, to a heavy spray paint effect.
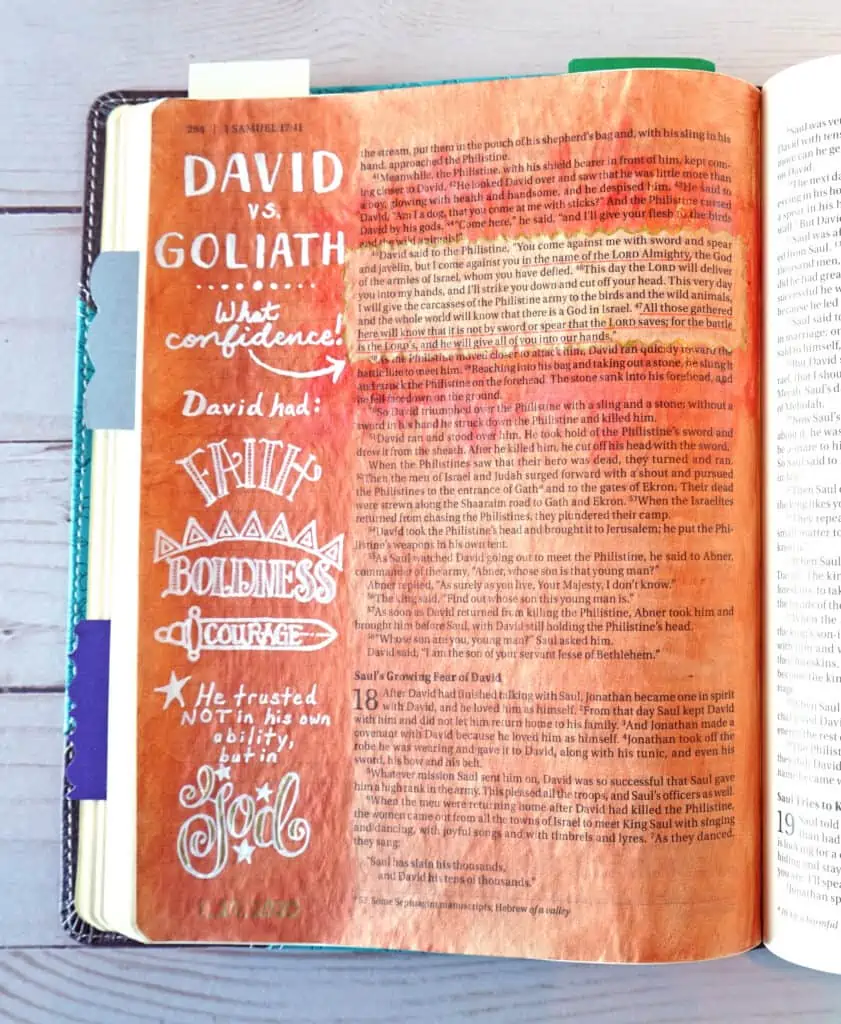
4) To write on top of a dark background, use a white paint marker.
So, now that you created a dark background… What can you use to write on such a dark color? A white gel pen works, but I really prefer a white paint marker, like this Uni Posca paint pen as seen below. It shows up super well on the dark background!
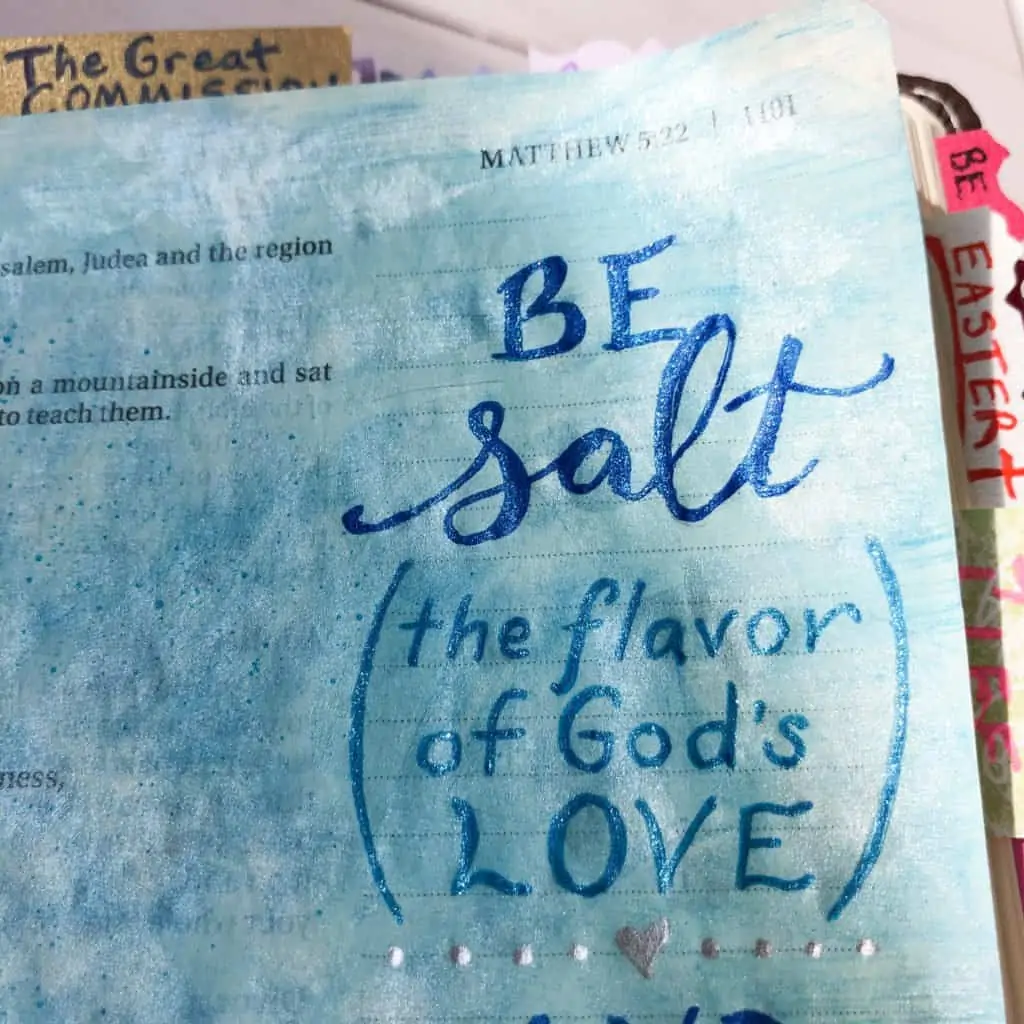
5) Write over a medium colored background, with gel pens.
Depending on how heavily pigmented and juicy they are, you can actually use gel pens to write over a lot of different mediums and colors. Make a mistake? Write over it or cover it up with gel pen. Want to add a date to the bottom of a Bible page? Write it in a glitter or metallic gel pen for extra shimmer.
For the “salt and light” Bible journal page below, I created the background with a base of Distress Ink, followed by a touch of metallic Gelatos on top, and a smattering of blue tiny ink dots (sprayed with the marker spritzer tool). Then, I used glitter gel pens to write my own summary of what it means to be “salt” and “light” in the margin.
6) Create a border with washi tape or stamps.
Let’s say you have a Bible journaling page, and the corners just really need a little something extra. Pick a stamp, and use it to make a cute corner border. Or if you like, place a piece of washi tape at the top and/or bottom of the margin, to frame your notes. Scrapbook.com and Amazon.com both have a great selection of washi tapes, or you can get washi at any craft store. I like to buy a lot of mine as individual tapes from Etsy sellers, so I can get exactly what I want, as opposed to buying a set of multiple washi tapes and being stuck with some that I may never use.
7) Use colored pencils as highlighters!
Coloring with pencils is one of the easiest ways to start Bible journaling for beginners. And Prismacolor Premier pencils in particular are among the best colored pencils for Bible journaling, due to their soft points and smooth laydown of color which works great on delicate Bible paper. But, did you know colored pencils also work great for highlighting the Bible passage? They come in so many more colors than traditional highlighters, and you never have to worry about them bleeding through the Bible page.


8) Use Twintone markers for underlining a verse within a highlighted passage.
Twintone markers are great for underlining, because they come in a wide variety of colors, and the fine tip end of the markers is super-thin. They’re also generally good about not bleeding through the page, although I still recommend testing them on a back page of your Bible first just to be sure. Pro tip: Don’t forget to use a ruler to make your underlines nice and straight!
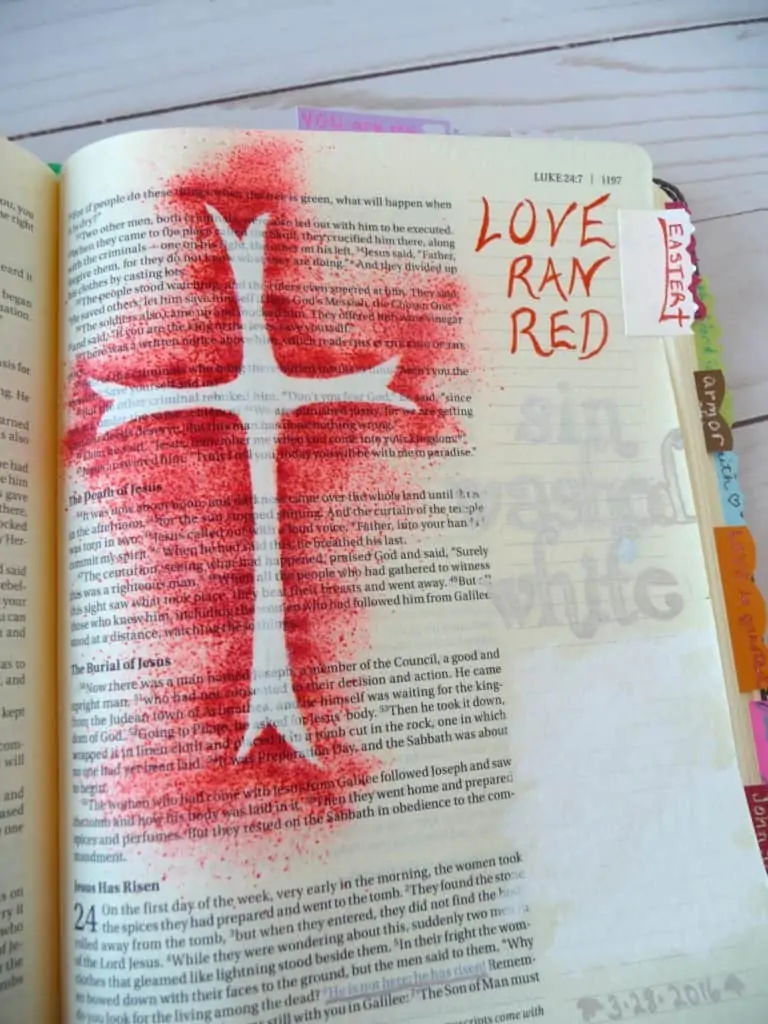
9) Make your own stencil, easy-peasy.
Of course, it’s nice to use store-bought stencils, but if you don’t have some on hand already, or the shape you want is just not available in a stencil, you can easily make your own! Of all the Bible journaling techniques I’ve learned, making my own stencils is one of the most handy. It’s simple, really: Just take a piece of cardstock paper, and draw a basic shape, like a cross, crescent moon, or a flower. Then cut out your stencil. You could also use a paper punch to create your stencil, which is what I did for the scroll flower design below (I used an edge paper punch, similar to these).

10) Color in your stamped images, with pretty much any medium you can think of.
Stamps are one of the best Bible journaling supplies you can have! There are so many great Bible journaling stamps out there, and many of them have outlines of text or shapes that allow you the opportunity to color inside the stamped image. As for what to use to color with, pretty much anything goes! From colored pencils, to metallic watercolors, to gel pens…any supplies you can use on your Bible page can be used to color in stamps.
There is one thing to be aware of, though: the type of ink you use to stamp with. Pigment ink is fine if you’re just filling it in with colored pencils. But for painting, I recommend stamping the image with permanent dye ink, such as Ranger Archival Ink. This type of ink won’t budge once it’s stamped onto the page, so you can paint all inside and around it, and it will stay put and won’t smudge. For the Romans 8:28 Bible journaling page below, I stamped everything with Ranger Archival Ink in black, and used Finetec metallic watercolors to color in the castle.

11) Create your own artwork to color in.
But don’t limit yourself to just stamps! If you’re feeling inspired by the verse(s) you’re studying, you can certainly create your own artwork, outline it in black, and color it in with pencils or paints. I highly recommend Pigma Micron pens for creating a crisp black outline; you can create a very fine line with the number 01 (0.25mm) thickness pen. And the best part? Since the Pigma Micron ink is archival-quality pigment ink, you can paint inside it with watercolors, and the lines won’t smudge or run!

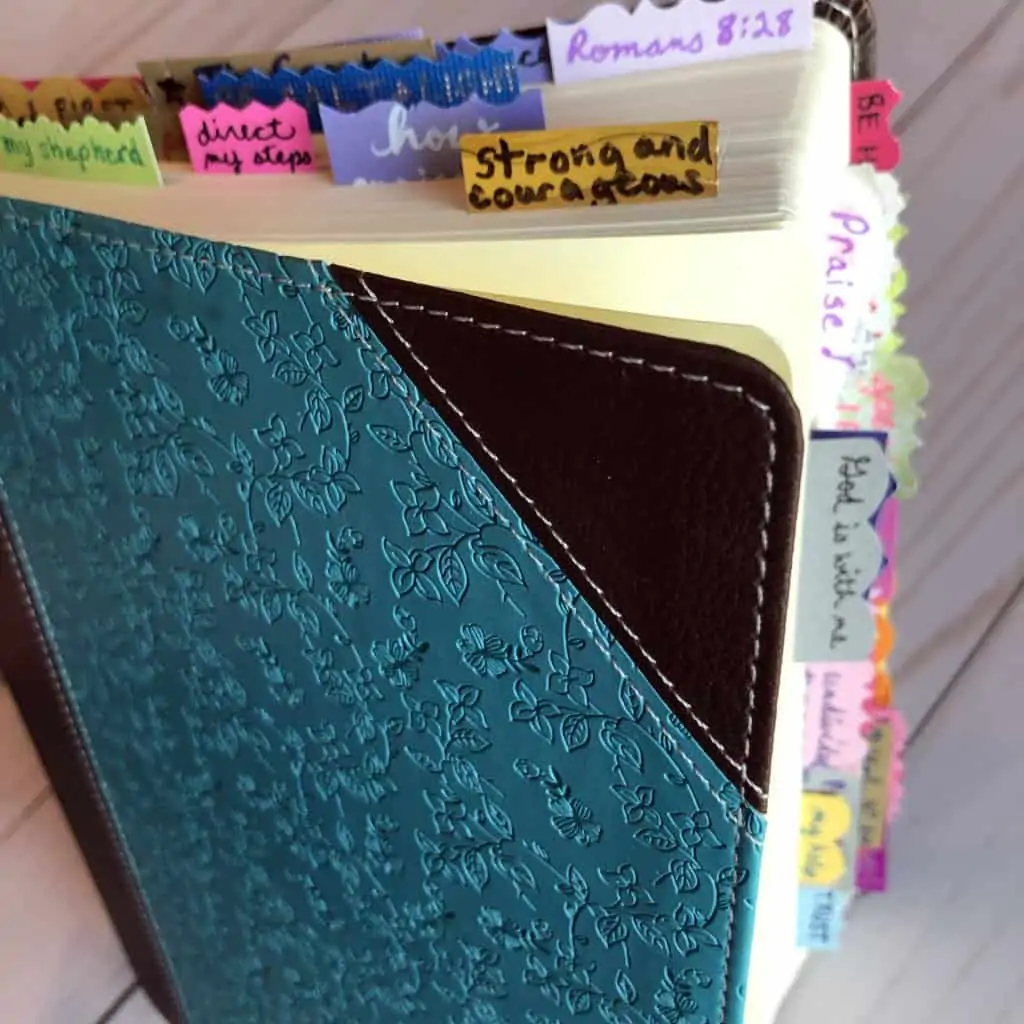
12) Cut Bible tabs out of scrap paper, cardstock, or whatever you have on hand.
Once you’ve studies/taken notes/created art on your Bible page, chances are you’re going to want a way to bookmark that page, so you can easily refer back to it later! You can always buy pre-cut Bible tabs, but my favorite way is to just make them myself. All you need is some colored or decorative paper, and some scissors. You could cut all your tabs the same shape, or vary them as I do. I keep a small 4.5″x6.5″ paper pack with multiple colors on hand to cut tabs from. That way, I can choose a color for the tab that corresponds with the colors I used in the Bible journaling page, and then write a few words on it that reminds me of that Scripture passage.
To attach the tabs to your page, I highly recommend 3M removable scrapbooking tape. It stays put, but is also gentle on the delicate Bible pages, and is totally removable if you need to re-position it or take it off later.
So, there you go! 12 fantastic Bible journaling techniques that you can use to bring the Scriptures to life in living color. Remember, all this creating in your Bible can be great fun, but the real purpose is to spend time creating with the Creator. Use your Bible journaling time to explore God’s Word, to process and record what He’s teaching you, and create something that will help you recall and refer back to that Scripture passage in the future.

Hi! Thank you so much for visiting Divine Creative Love. I’m a Jesus-lovin’ girl, artist, designer, and general creative-at-heart. And, I have narcolepsy. I blog about faith in God, overcoming challenges, and creative topics such as Bible journaling. If you’re new here, be sure and subscribe to my list so you won’t miss anything!