
This post and the photos within it contain affiliate links. If you make a purchase after clicking an affiliate link, my ministry gets a small commission, with no extra cost to you. See my full disclosures HERE.
 A few weeks ago, I was out shopping and snagged this amazing ‘LOVE’ art at Kirkland’s…it was one of those things that I had seen before and fallen in love with it, but had that “Oh, but do I really need that?” moment. So I walked away that first time, but ultimately decided that I just had to go back for it! ‘Cause, you know, it’s gorgeous and represents one of my favorite portions of Scripture.
I also went shopping at Family Christian Store, and saw another cool scripture piece…this was just a little desktop thing, barely bigger than a paperweight (like maybe 3″ wide and 1″ deep). I wish I could show you a picture of it, but since I didn’t buy it, you’ll just have to imagine. 😉 The price tag for that little thing was about $15, so I thought “Heck, I can just make my own scripture art!!”
And that is exactly what I did. Yes, for once I didn’t just think the idea and then add to the mental list of other crafty projects that I won’t have time for. I actually made one! And you can too.
Before heading home, I dropped into Michael’s (okay, so no trip to Michael’s is ever that quick, but give me points for trying), and found a cheap-o 39-cent piece of wood that I figured would fit the job.
I already had some cheap acrylic paint, some decoupage glue, large popsicle sticks, and a hot glue gun in my craft stash at home, so the additional cost for this project was just the $0.39 for the wood.
If you want to make your own super-cool scripture art to set on your desk or tabletop, here are the steps I took (feel free to adapt for your own creativity and available supplies):
Decoupage Scripture Art
MATERIALS:
- Small piece of wood
- Acrylic paint
- Printed or clipped Bible verse
- Decoupage glue
- Large popsicle stick
- Something to cut the popsicle stick with (like a wood-cutting knife)
- Hot glue gun
- Sandpaper
INSTRUCTIONS:
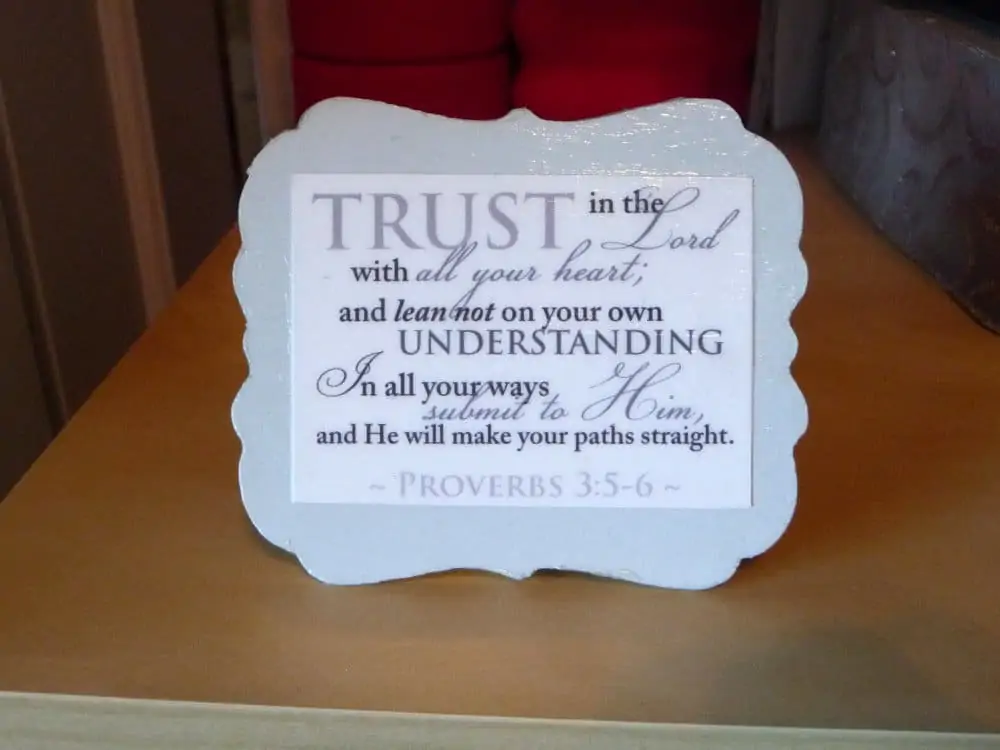
1) Pick your verse. I chose Proverbs 3:5-6, which is my favorite.
2) Turn your verse into some sort of printed art; being the designer I am, I made mine in Adobe Illustrator and printed it on some card stock paper, but you can do yours however you want. Make something in MS Word, clip words or letters out of a magazine, type it on a typewriter for a totally old-school look, or whatever you mind comes up with.
3) Pick an object to paste your verse onto. I recommend using wood, but another material like glass or plastic would work too. Now that I think of it, you could even do this project on a glass jar if you want (just make sure it has a smooth surface).
4) Paint your object in whatever color you like. Make it match your verse, or not. Or if you’re using a glass jar or some other alternative thing, you might not want to paint it at all. (I used cheap acrylic paint by Folk Art to do mine). On wood, two coats should do it, maybe more coats if you’re painting on glass or other slick surface.
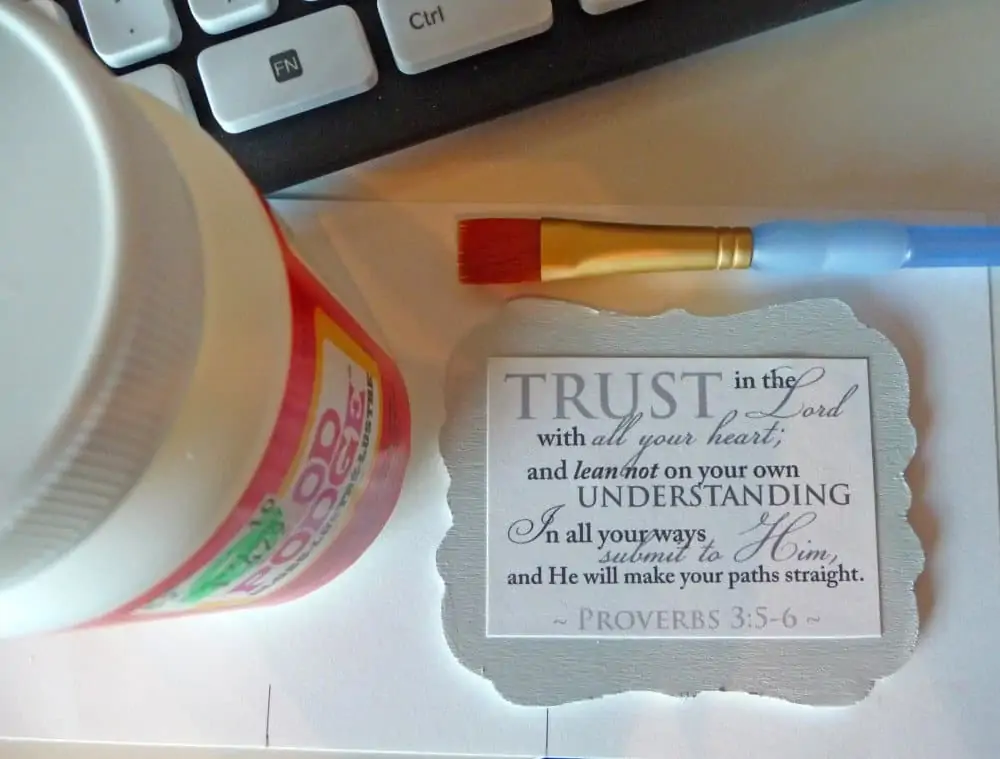
5) Once the paint has dried, take some decoupage glue (like Mod Podge), and use a cheap brush or sponge to apply one layer of it on the front side of your object. While it’s still wet (quickly, now!) position your printed verse on the wet glue. Follow the instructions on the jar for length of time to dry between coats; once that underneath layer is dry, paint another layer over the top of the printout (as well as the whole front side). Repeat as desired if you want to achieve a thicker gloss. When you’re done decoupaging that front side, add a coat or two to the edges and backside as well.
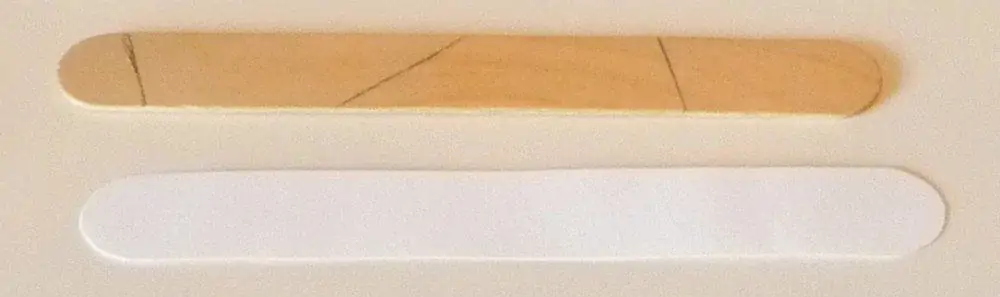
6) Now, this step was, for me, the trickiest. I wanted to devise a stand to prop up the scripture; I thought of using metal, but ultimately I decided to use popsicle sticks and hot glue. My choice of cutting tools was not the smartest though; to cut the popsicle stick into pieces for the stand, I used a razor knife to cut into it partway, then bent it until it snapped fairly cleanly. For future endeavors, I intend to purchase a proper wood-cutting knife, and I advise you do the same before you undertake this last step. You know, for safety’s sake at least.
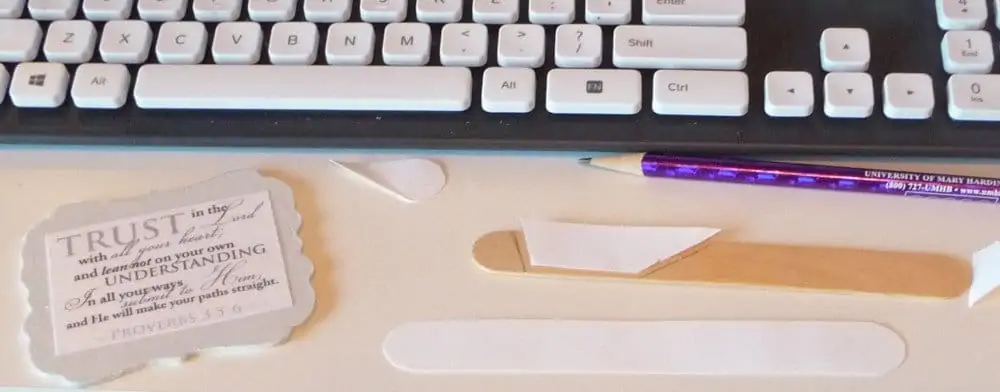
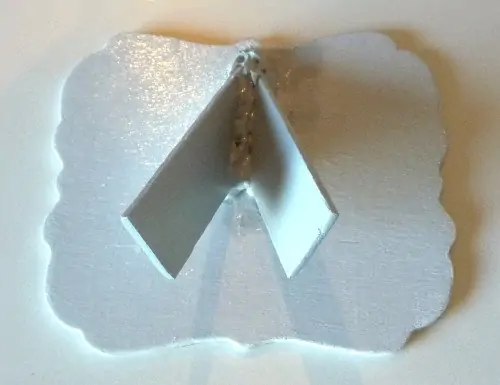
Now, to devise the actual stand, make a paper cutout of your popsicle stick (as pictured). Fold the paper as you experiment with the size piece of the stick you need to hold up your scripture art. I put two pieces on mine, one angled to the left and one to the right–that way it’s more stable. Once you get it like you want, you can cut the paper to make a stencil/template, and use that to draw lines on the popsicle stick where you’ll need to cut. Then, get out that proper wood-cutting tool and *carefully* cut those pieces out.

7) Use sandpaper to smooth the edges if necessary. (After you’ve glued the pieces on, you can also sand them down if necessary to create an even balance. Mine was a bit wobbly at first, so I had to sand down one of the popsicle stick pieces to make it more even.)
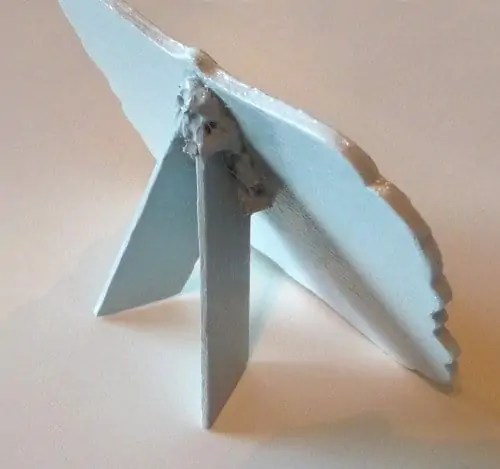
8) Now, the nerve-wracking part! Use your hot glue gun to attach the popsicle stick pieces to the main object. You won’t have any opportunity to adjust once it’s on, since hot glue dries so quickly, so be sure and mark where those pieces need to be placed before you squeeze the trigger. Add more glue around the edges as necessary, until your little stand is secure.
9) Phew! I promise this last step is easier than the last few. And, it’s optional! You can leave the popsicle-stick-stand completely exposed, or do like I did and paint and decoupage over it. Yes, I even painted and decoupaged the hot glue. It looks nicer that way, and maybe even more secure as well.
FINALLY: Pat yourself on the pack, praise God for the wisdom and insight of His Word, and place your new handmade scripture art somewhere you can see it every day! Enjoy 😉
Have questions or comments regarding this craft project? Write in below…

Hi! Thank you so much for visiting Divine Creative Love. I’m a Jesus-lovin’ girl, artist, designer, and general creative-at-heart. And, I have narcolepsy. I blog about faith in God, overcoming challenges, and creative topics such as Bible journaling. If you’re new here, be sure and subscribe to my list so you won’t miss anything!