
Want to create beautiful art in your Bible, with only a little effort? With stamps, you can! In this post, I’ll show you exactly how to get started using stamps for Bible journaling.
{ This post and the photos within it contain affiliate links. If you make a purchase after clicking an affiliate link, my ministry gets a small commission, with no extra cost to you. See my full disclosures HERE. }
Stamps have come a long way, y’all! We no longer depend on those wood-block-mounted stamps that take up so much space. The stamps I’ll be showing you today are the modern “clear” or “acrylic” unmounted stamps, and if you’ve never used them before, you’re in for a treat!
But first, a trip down memory lane… I remember collecting those wood block stamps as a teenager. Each stamp was sold individually, and took up far too much space. I still have most of my collection, which is housed in a big plastic briefcase-size box. For the record, craft stores like Micheals and Hobby Lobby do still carry a wide array of wood-mounted stamps. But, I much prefer the clear stamps!
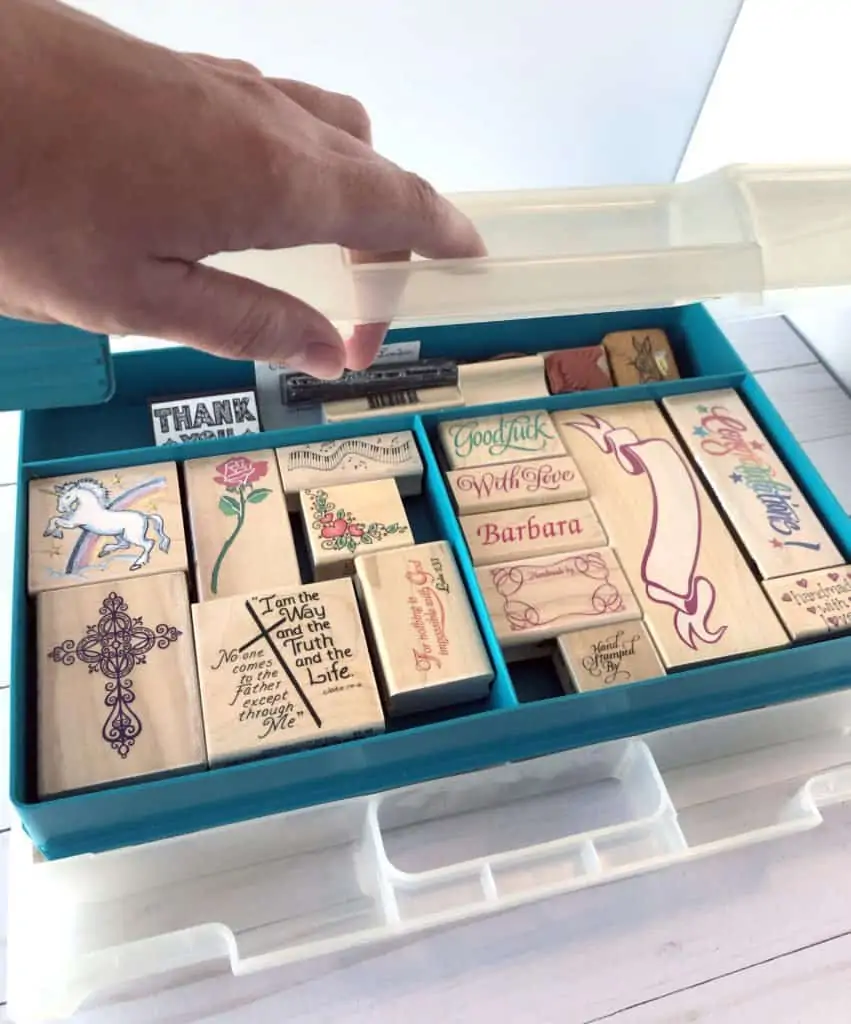
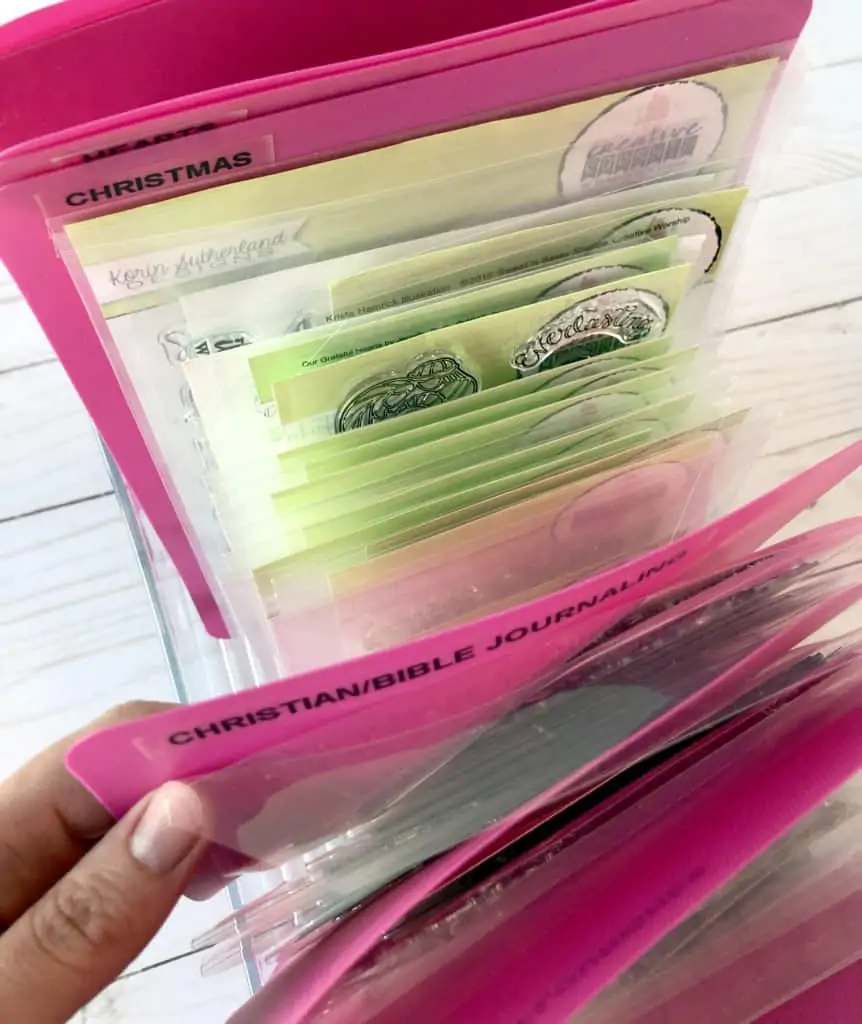
You can see how much space my old wood-mounted stamps require, and by contrast, how many of the clear stamp sets I’ve crammed into this little bin. And I still have room for more. 😉
But anyway, onto the stamping lesson! To get started stamping with clear acrylic stamps, you’ll need three things:
- Stamps! :: My favorite Bible journaling stamps are from Creative Worship Stamps (formerly Sweet n’ Sassy Stamps). I love the quality of the stamps, the wide array of designs available, and the fact that it’s a Christ-centered, woman-owned business. That being said, there are many more stamps to be found at your local craft store, on Amazon, or at Scrapbook.com.
- Acrylic mounting block :: Since clear stamps come unmounted, you’ll need a mounting block like the one in the picture below. I keep a set of three different sizes to use with different size stamps, but if you’re on a budget, just buy the biggest size block and you can still use it with smaller stamps.
- Ink :: There are two different types of stamp pads you can use. Pigment ink is rich in color, and sits on top of the paper, but takes a while to dry. Dye ink is absorbed quickly into the paper, dries quickly, but is more prone to bleed-through. (For a more thorough explanation of each type, see this Scrapbook.com guide to ink types). Most of the time, I use pigment inks such as VersaColor inks. But, I have one black Ranger Archival Ink pad that I use anytime I know I’ll be painting or coloring on top of the stamped image—and that’s the ink I’m using here today.
Our Mighty Fortress
Once you have your basic supplies, you’re ready to get started!
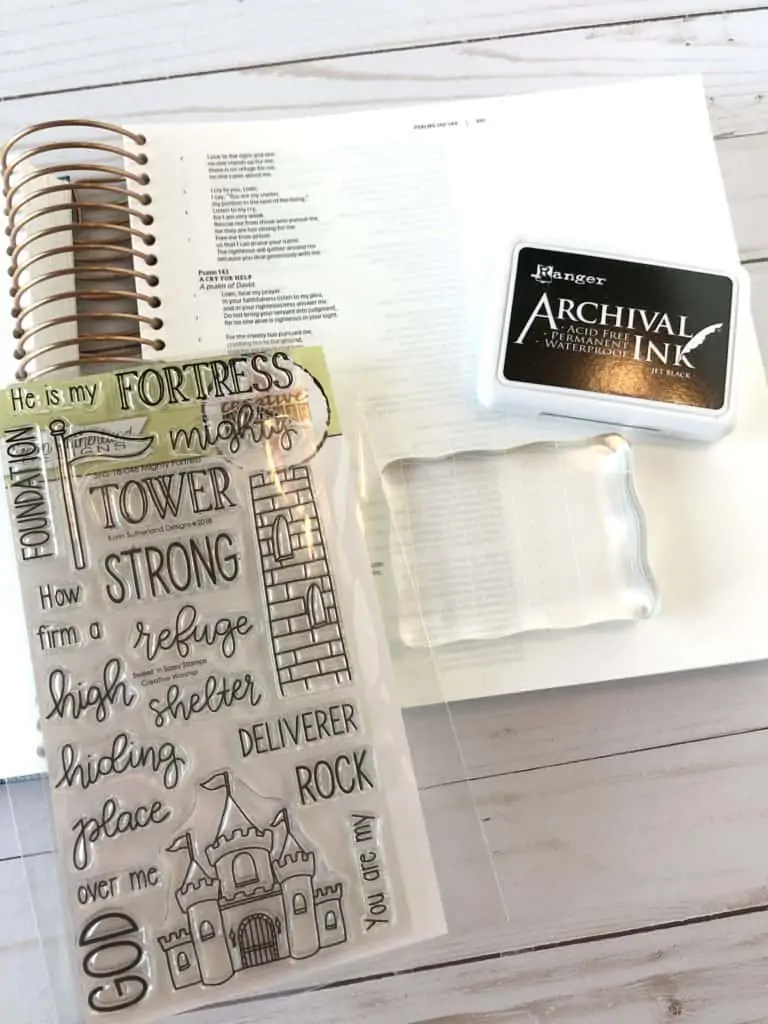
For this example, I’ll be stamping a castle image from the Mighty Fortress stamp set by Creative Worship Stamps. This set includes stamps that would work for many different passages of Scripture, but the one I chose for today is Psalm 144:1-2…
Praise be to the Lord my Rock,
who trains my hands for war,
my fingers for battle.
He is my loving God and my fortress,
my stronghold and my deliverer,
my shield, in whom I take refuge,
who subdues peoples under me.
In this Psalm, David praises God for equipping, providing for, and protecting him. I especially love the part where he says “in whom I take refuge”. No matter what kind of craziness is going on, or what troubles we encounter, God is our refuge from the storms.
I know sometimes it’s easy to think that God is to blame for our troubles, but nothing could be further from the truth! We live in a fallen world, corrupted by our own sin and the sin of others. Satan wreaks havoc in ways we can’t even begin to understand, but God is always good and just. You and I may not understand why the Lord allows certain things to happen, but we can trust Him to be our mighty fortress—our safe place in the storm.
How to Stamp in Your Journaling Bible
Okay, now…ready? Set? Stamp!
STEP ONE: Pull the plastic backing away from the stamps. Grasp the stamp and pull it away from the top sheet.

STEP TWO: Place the stamp flat-side down onto the acrylic block, and press firmly so it sticks (if your block has guide lines on one side, adhere the stamp onto the other side of the block without any lines on it). Pretty amazing how it grips the block, right?

STEP THREE: Ink it! Press your stamp repeatedly onto the ink pad, until it’s good and saturated with color. You might need to move it around, and check it to make sure the ink is applied evenly across the whole stamp. The beautiful thing about clear stamps, is you can look straight through the block and see how much ink is on the stamp. Pretty handy!
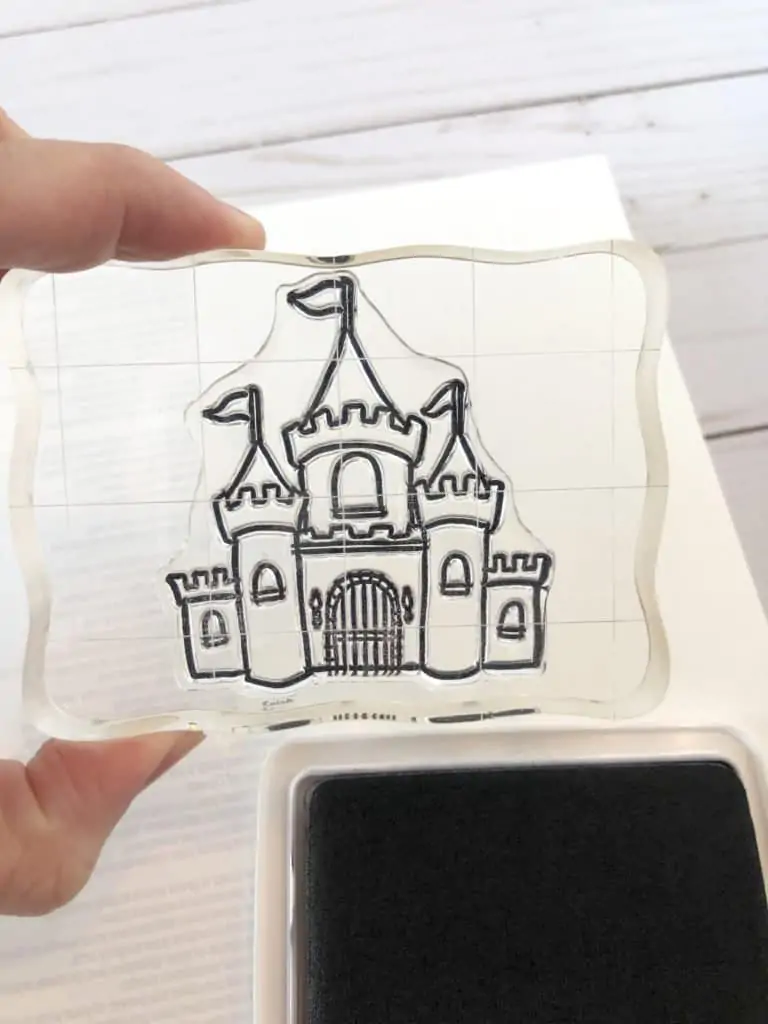
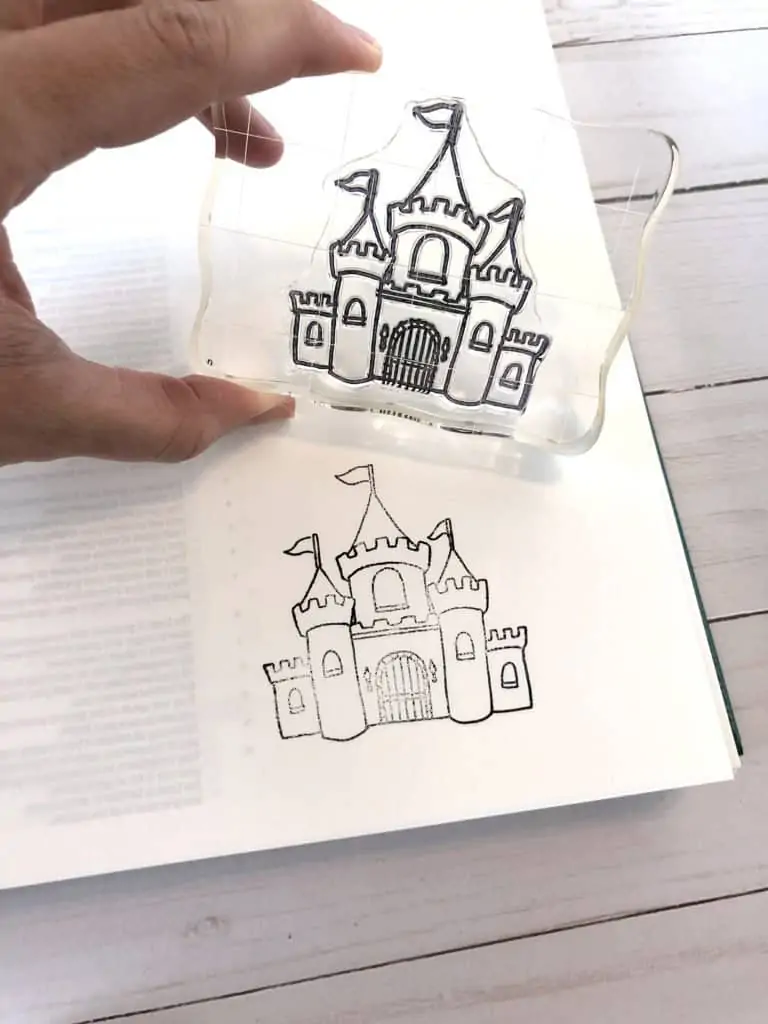
STEP FOUR: Stamp it! Make sure your Bible is on a solid surface. Depending on what kind of Bible you have, you may need to place a thick item like a notepad or small book underneath, so the stamp gets applied evenly. My Illustrating Bible lays completely flat, so I’m not using anything underneath it. Just press down evenly, so all parts of the stamp are making good contact with the paper. And, voila! Pick up your block, and there is your stamped image.
**NOTE about bleed-through: The stamped image does show through a bit on the back of my Illustrating Bible page, but it didn’t actually bleed through. However, if you’re using a traditional journaling Bible with thinner pages, you may want to prep your page with gesso first to prevent bleed-through. Dye inks, like the one I used here, are a lot more prone to bleeding through than pigment inks.
My castle didn’t turn out nearly as solid and dark as I would’ve liked, but that’s okay! Next time, I’ll try putting more ink on the stamp, though it could’ve been that I just didn’t apply enough pressure. For now, I’m going to take my trusty Micron Pigma pen and go over the image to make it darker. Micron Pigma pens are waterproof and smudge-proof just like the Ranger Archival ink pad, which is important since I plan on painting in the castle later.
STEP FIVE: Clean it! I almost forgot this one. The wonderful thing about clear stamps and acrylic blocks, is that they’re totally reusable over-and-over again. But, before you put them away for next time, it’s important to clean them. Don’t worry, it’s easy!
While your stamp is still on the block, use a damp cloth to wipe away the excess ink (sometimes a bit of ink gets on the block too, so if it did, just wipe it away). Don’t be alarmed if some color remains on the stamp; staining is normal, and it won’t hurt future use of the stamp at all. Once your stamp is dry, you can peel it off the block, and stick it back onto the top sheet of the stamp set. Replace the bottom sheet, and then put it back in the original packaging or a protective pouch. For my stamps, I use Avery Elle stamp pockets to store each set.

And, that’s it! That’s all there is to stamping; pretty simple stuff, and yet it’s such an easy way to make beautiful Bible journals. May God bless you with His love, truth, and wisdom, as you explore His Word through journaling.
Did you find this post helpful? You might also enjoy the follow-up: how to embellish your stamped images, with my completed Psalm 144 page as an example.

Hi! Thank you so much for visiting Divine Creative Love. I’m a Jesus-lovin’ girl, artist, designer, and general creative-at-heart. And, I have narcolepsy. I blog about faith in God, overcoming challenges, and creative topics such as Bible journaling. If you’re new here, be sure and subscribe to my list so you won’t miss anything!